
Homemade lard is a traditional cooking fat made by slowly melting animal fat until it becomes a clear, golden liquid. Once cooled, it turns into a soft, creamy fat that is useful for frying, roasting, baking, and making wonderfully flaky pie crusts and biscuits. Many home cooks appreciate its simple ingredients, rich cooking performance, and the satisfaction of making something from scratch.
This recipe explains how to render fat into clean, golden lard at home. For food safety, this method is for rendering and storing lard in the refrigerator or freezer, not for making shelf-stable canned meat products.
Preparation Time
- Prep Time: 20 minutes
- Cooking Time: 2–4 hours
- Cooling Time: 1–2 hours
- Yield: Varies depending on the amount and type of fat used
Ingredients
- 5 pounds fresh pork fatback or leaf fat
- ½ cup water
- Optional: a pinch of salt for cooking, if desired
Note: Use fresh, food-grade fat from a reliable butcher or farmer. Leaf fat, found around the kidneys, produces a particularly mild lard, while fatback produces excellent all-purpose cooking fat.
Equipment Needed
- A heavy-bottomed stockpot or Dutch oven
- A sharp knife and cutting board
- A wooden spoon or heat-resistant spatula
- A fine-mesh strainer
- Cheesecloth, if available
- Clean, heat-safe glass jars or food-storage containers
- A ladle and oven mitts
Instructions
Step 1: Prepare the Fat
Begin by inspecting the fat and removing any meat, blood spots, or unwanted tissue. Cut the fat into small cubes, approximately ½ inch in size. Smaller pieces render more evenly and help the fat melt without requiring excessive heat.
If the fat is very soft, place it in the freezer for 20–30 minutes before cutting. Slightly firm fat is easier and safer to handle.
Step 2: Add the Fat to the Pot
Transfer the chopped fat to a heavy-bottomed pot. Add ½ cup of water. The water helps prevent the fat from scorching during the early stages of cooking. It will gradually evaporate as the rendering process continues.
Set the pot over low heat. Avoid starting with high heat because overheated fat can burn, develop an unpleasant smell, and affect the flavor of the finished lard.
Step 3: Render Slowly
Allow the fat to melt gradually, stirring occasionally with a wooden spoon. As the temperature rises, the pieces will release their fat and become smaller.
Continue cooking over low heat for approximately 2–4 hours, depending on the quantity and size of the pieces. Keep the mixture at a gentle simmer rather than a vigorous boil.
The liquid fat will become increasingly clear, while the remaining solid pieces, called cracklings, will shrink and turn lightly golden. Watch the pot carefully toward the end because the solids can brown quickly.
Step 4: Watch for the Right Color
When most of the fat has melted and the remaining pieces are small and lightly golden, turn off the heat. The liquid should look clear and golden while hot.
Do not allow the cracklings to become dark brown or burnt. Excessive browning can give the lard a strong flavor and darker color. If the fat starts smoking, remove the pot from the heat immediately.
Step 5: Strain the Liquid
Place a fine-mesh strainer over a clean, heat-safe bowl or pot. For a smoother result, line the strainer with cheesecloth.
Carefully pour the hot liquid through the strainer, catching the solid cracklings and other particles. Use oven mitts and work slowly to avoid splashes, as hot rendered fat can cause serious burns.
Do not squeeze the solids aggressively if you want especially clear lard. The strained cracklings can be cooled and used separately in recipes.
Step 6: Fill Clean Containers
Carefully transfer the strained lard into clean, dry, heat-safe containers. Leave a little space at the top to allow for expansion during freezing.
Do not pour extremely hot fat into cold glass, as sudden temperature changes can cause the glass to break. Use containers designed to tolerate the temperature, and allow the lard to cool safely.
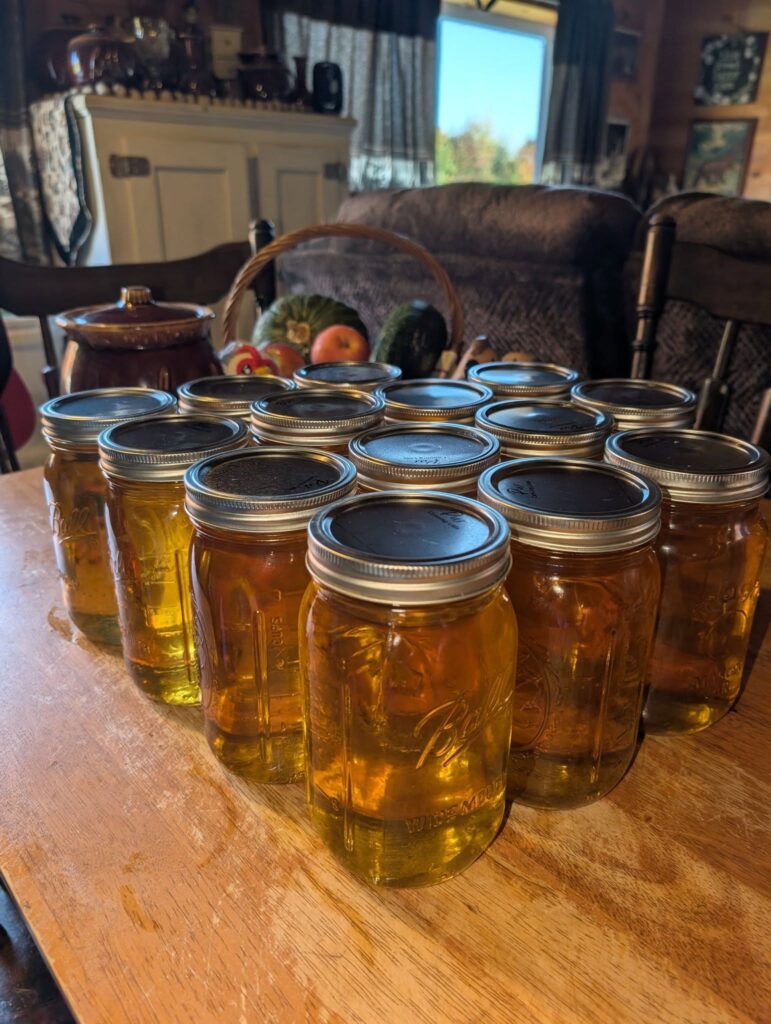
Avoid sealing hot jars tightly and leaving them on the counter. A lid that seals does not prove that the contents are safe for room-temperature storage.
Step 7: Cool and Store Safely
Allow the containers to cool until they are no longer hot, then refrigerate them promptly. Do not leave the lard at room temperature for extended periods.
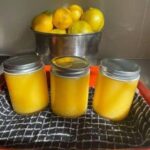
As the lard cools, its clear golden liquid will become opaque, creamy, and pale in color. The final shade depends on the type of fat used and how gently it was rendered.
Store lard in the refrigerator for short-term use or freeze it for longer storage. Use clean utensils each time you scoop some out, and discard it if it develops an unusual odor, discoloration, or signs of spoilage.
Important food-safety note: Do not treat these jars as shelf-stable canned lard. Simply pouring hot fat into jars, tightening the lids, or using a water bath does not establish safe room-temperature storage. Follow current food-preservation guidance and keep homemade rendered lard refrigerated or frozen.
Helpful Tips for Perfect Homemade Lard
- Choose the right fat: Leaf fat generally produces a mild flavor, while fatback is versatile for everyday cooking.
- Keep the heat low: Slow rendering helps prevent scorching and produces a cleaner flavor.
- Strain thoroughly: Removing small particles helps keep the finished fat smooth.
- Keep moisture out: Water and food particles can reduce storage quality. Use clean, dry utensils and containers.
- Label your containers: Write the preparation date on each container so you can keep track of storage time.
- Save the cracklings: Once cooled, cracklings can be used in suitable savory recipes.
How to Use Homemade Lard
Homemade lard is a versatile ingredient in traditional cooking. Use a spoonful to roast potatoes and vegetables, fry eggs, brown meat, or sauté onions. It can also replace some or all of the solid fat in many pastry recipes, depending on the texture and flavor you want.
For biscuits, pie crusts, and savory pastries, chilled lard can help create a tender, flaky texture. In savory dishes, it adds richness and works well with potatoes, beans, and cooked vegetables.
Because lard is rich in fat, use an appropriate amount for the recipe and avoid overheating it until it smokes.
Frequently Asked Questions
Does homemade lard become solid?
Yes. It typically turns opaque and creamy as it cools, although its firmness varies with the type of fat.
Can I make lard without adding water?
Yes, but a small amount of water at the beginning can help prevent scorching. It must evaporate completely during rendering.
Can I keep homemade lard in the pantry?
For this home recipe, no. Store it in the refrigerator or freezer rather than relying on a sealed jar for room-temperature safety.
How do I know when rendering is finished?
Most of the fat will be liquid, and the remaining solids will be small and lightly golden. Remove the pot from the heat before they burn.
Final Thoughts
Making homemade golden lard is a practical way to use fresh animal fat and prepare a traditional cooking ingredient from scratch. With low heat, careful straining, clean containers, and safe refrigeration or freezing, you can produce smooth, flavorful lard for everyday cooking and baking.
Whether you’re preparing flaky biscuits, roasting vegetables, or cooking a favorite family recipe, homemade rendered lard can be a useful addition to your kitchen. Prepare a batch, label it clearly, and keep it stored safely until you’re ready to use it.